 Go to Kayako
Overview
If you want to disable your Support Center, there's no easy toggle button on Kayako Classic that would allow you to perform this action. But you can modify the templates to hide the support center content. Or for download (on-premise) customers, you may edit the files on the server to completely disable them.
Prerequisite
- Admin access with "update templates" permission.
- Admin access to the server.
Solution
Modifying the Templates
There are essentially 3 templates in the instance which display the Support Center:
- Clientcss
- Header
- Footer
Modifying the ClientCSS Template
The quickest way to remove the Support Center is to add a global CSS rule to theclientcsstemplate:
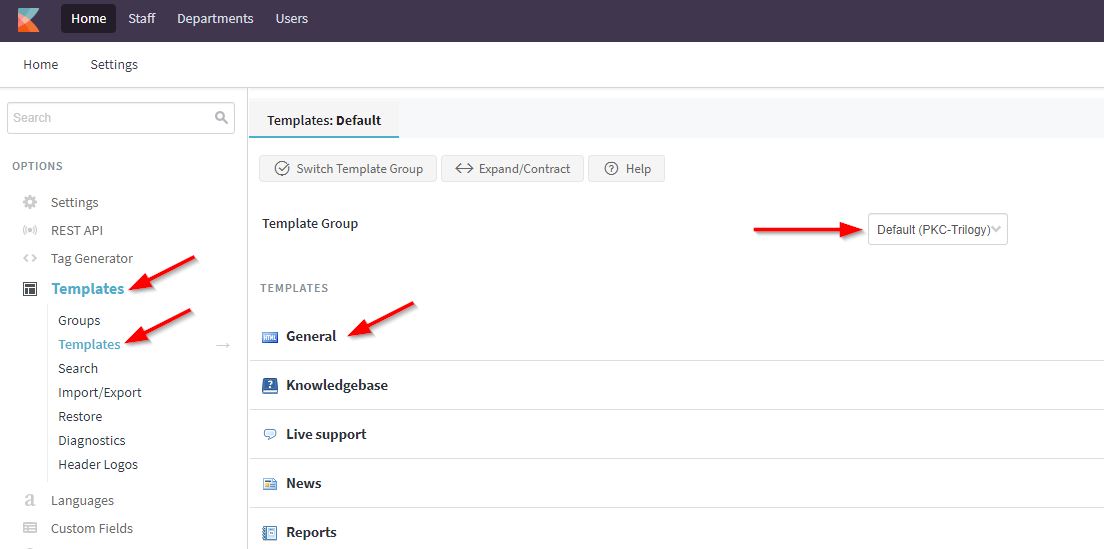
- Log in to the Admin Control Panel
- From the Home tab, click Templates.
- NOTE: We recommend you backup your templates before making changes to them. If you wish to do so, click Import/Export.
- NOTE: We recommend you backup your templates before making changes to them. If you wish to do so, click Import/Export.
- Click Templates and select the relevant template group.
- Click General and look for the
clientcsstemplate.
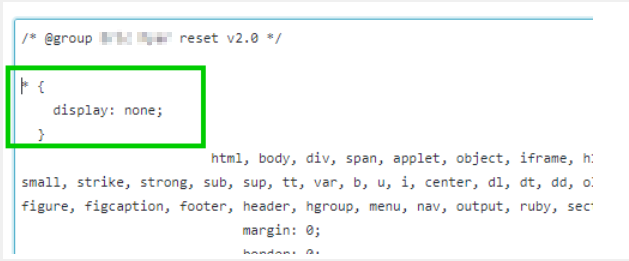
-
Enter the following code block:
* {
    display: none;
}Sample:
- Click Save to save your changes.
This will remove all elements from the content flow, producing a plain page. The advantage here would be that as the HTML is merely hidden, it can quickly and easily be reinstated by removing the CSS rule.
Modifying the Header Template
The other alternative is to remove the HTML content from the page and place a redirect message by editing the content of the body tag within the header template:
<body class="bodymain">
 <div id="main">
        <p>Place your customized message here.</p>
If you wish to do so, please see instructions from the Modifying the Support Center to Remove All Content and Redirect Visitors to Another Site article.
Modifying the Footer Template
If you wish to remove the footer, the footertemplate would also have to be edited. You can opt to include messages and content to inform end-users who may end up in the Support Center by error.
To do this, simply navigate to Admin Control Panel > Home tab > Templates > General > Footer.
You may want to visit the Best Practices for Editing Kayako Classic Templates and how to Review Version History articles for references.
Modifying the Server Files (For Download/On-Premise)
As mentioned above, another alternative for download customers is to modify the files on the server.
To do this, follow these steps:
- Navigate to the root folder of your Kayako Classic installation.
- Rename index.php file to index.old.
- Create a new index.html file and save it to the same root directory.
- In the new index.html file, you may add a meta refresh like
<meta http-equiv="refresh" content="0;url=http://google.com/" />. This meta will redirect the customer to the website in the meta refresh immediately (i.e., Google.com in the example).
Priyanka Bhotika
Comments